Building a Zip Line in 6 easy steps

Our new Kidder Creek Zip Line is finished! It’s a thrilling ride that we can’t wait to share with campers this summer, and at over 700ft long it’s the longest zip line in all of Mount Hermon! With the help and professional direction of Synergo we were able to complete the project in four days and the final product looks amazing. Building a zip line should always be left to the professionals, but we thought you’d enjoy a behind the scenes look at how a zip line gets built. Here are the 6 “easy” steps to building a world-class zip line:
1. Survey the site: This is where a professional really helps. Using tools like a laser range finder and declinometer as well as GPS mapping allowed us to pick the perfect spot using trees as the zip line anchors. There is some serious science behind the length, drop and drape of a zip line.

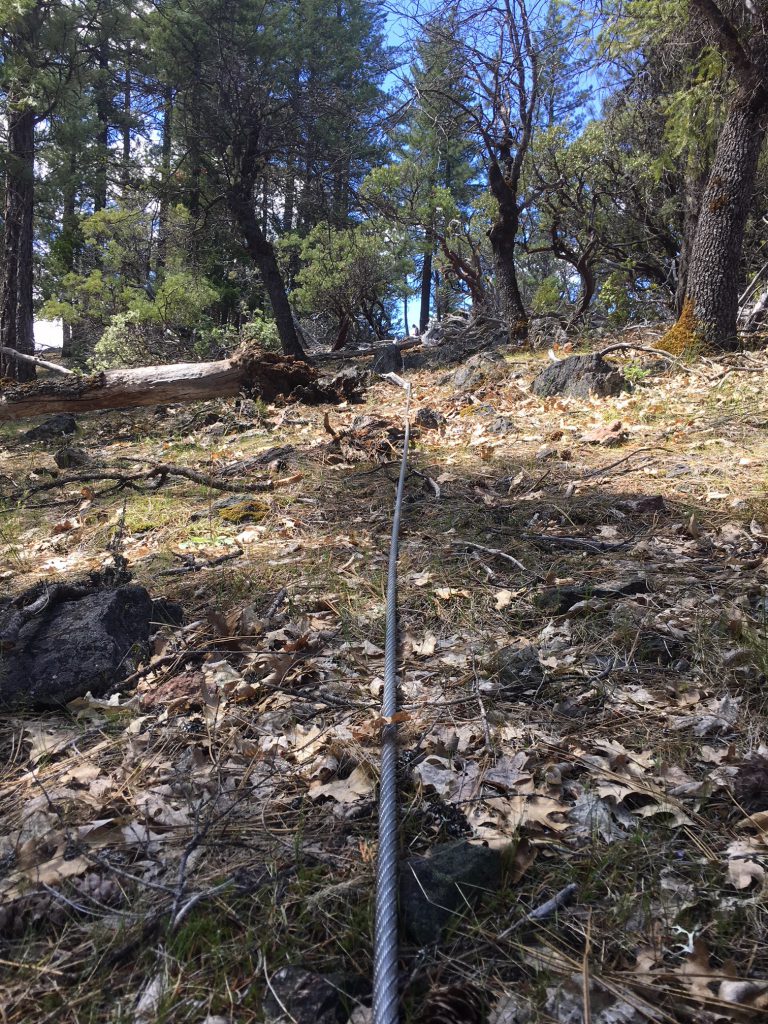
2. Clear the corridor: Once the zip pathway is identified you need to make sure the pathway for the zip line rider is clear. We cleared the corridor while also doing step three which is:
3. String the cable: We used 1/2″ “super-swage” cable which weighs about a pound per foot. Using a spool jack and lots of people we pulled the cable out along the ground and cleared bushes and branches as necessary.
4. Hoist and attach the cable: A truck comes in handy! Using a series of pulleys and anchors we used the truck to actually pull the cable into the air and then attach it to the anchor trees using engineered brackets.


5. Build the platforms: Once the cable was hung and tested for speed and tension we build the take-off and arrival platforms at specific heights in relationship to the lanyards we’re using.

6. Final testing and commissioning: Synergo completes the final testing using multiple weights to simulate many different kinds of campers and also takes readings using a tensiometer. After training this zip line is ready to use!

We’re thankful for everyone that has helped support this project financially through regular monthly support and one time gifts. Together we have raised $12,821, so with our match we’re up to $25,642! We were able to come in under budget on the build but we’re still looking for help to fund the equipment we need to run it: harnesses, lanyards, trolleys and helmets. It’s not too late to participate! Go to www.kiddercreek.org/give to help us raise the additional funds needed to have the zip line ready for adventure when campers arrive in a few short weeks!

